The Main steps to assembling the fuselage
- assemble spar box and rear bulkhead
- attach motor mount
- add fiberglass
- mount motor
- route motor wire
- Insert and align boom/tail assembly
- custom fit your gear at this point
- Fit and glue fuselage halves together
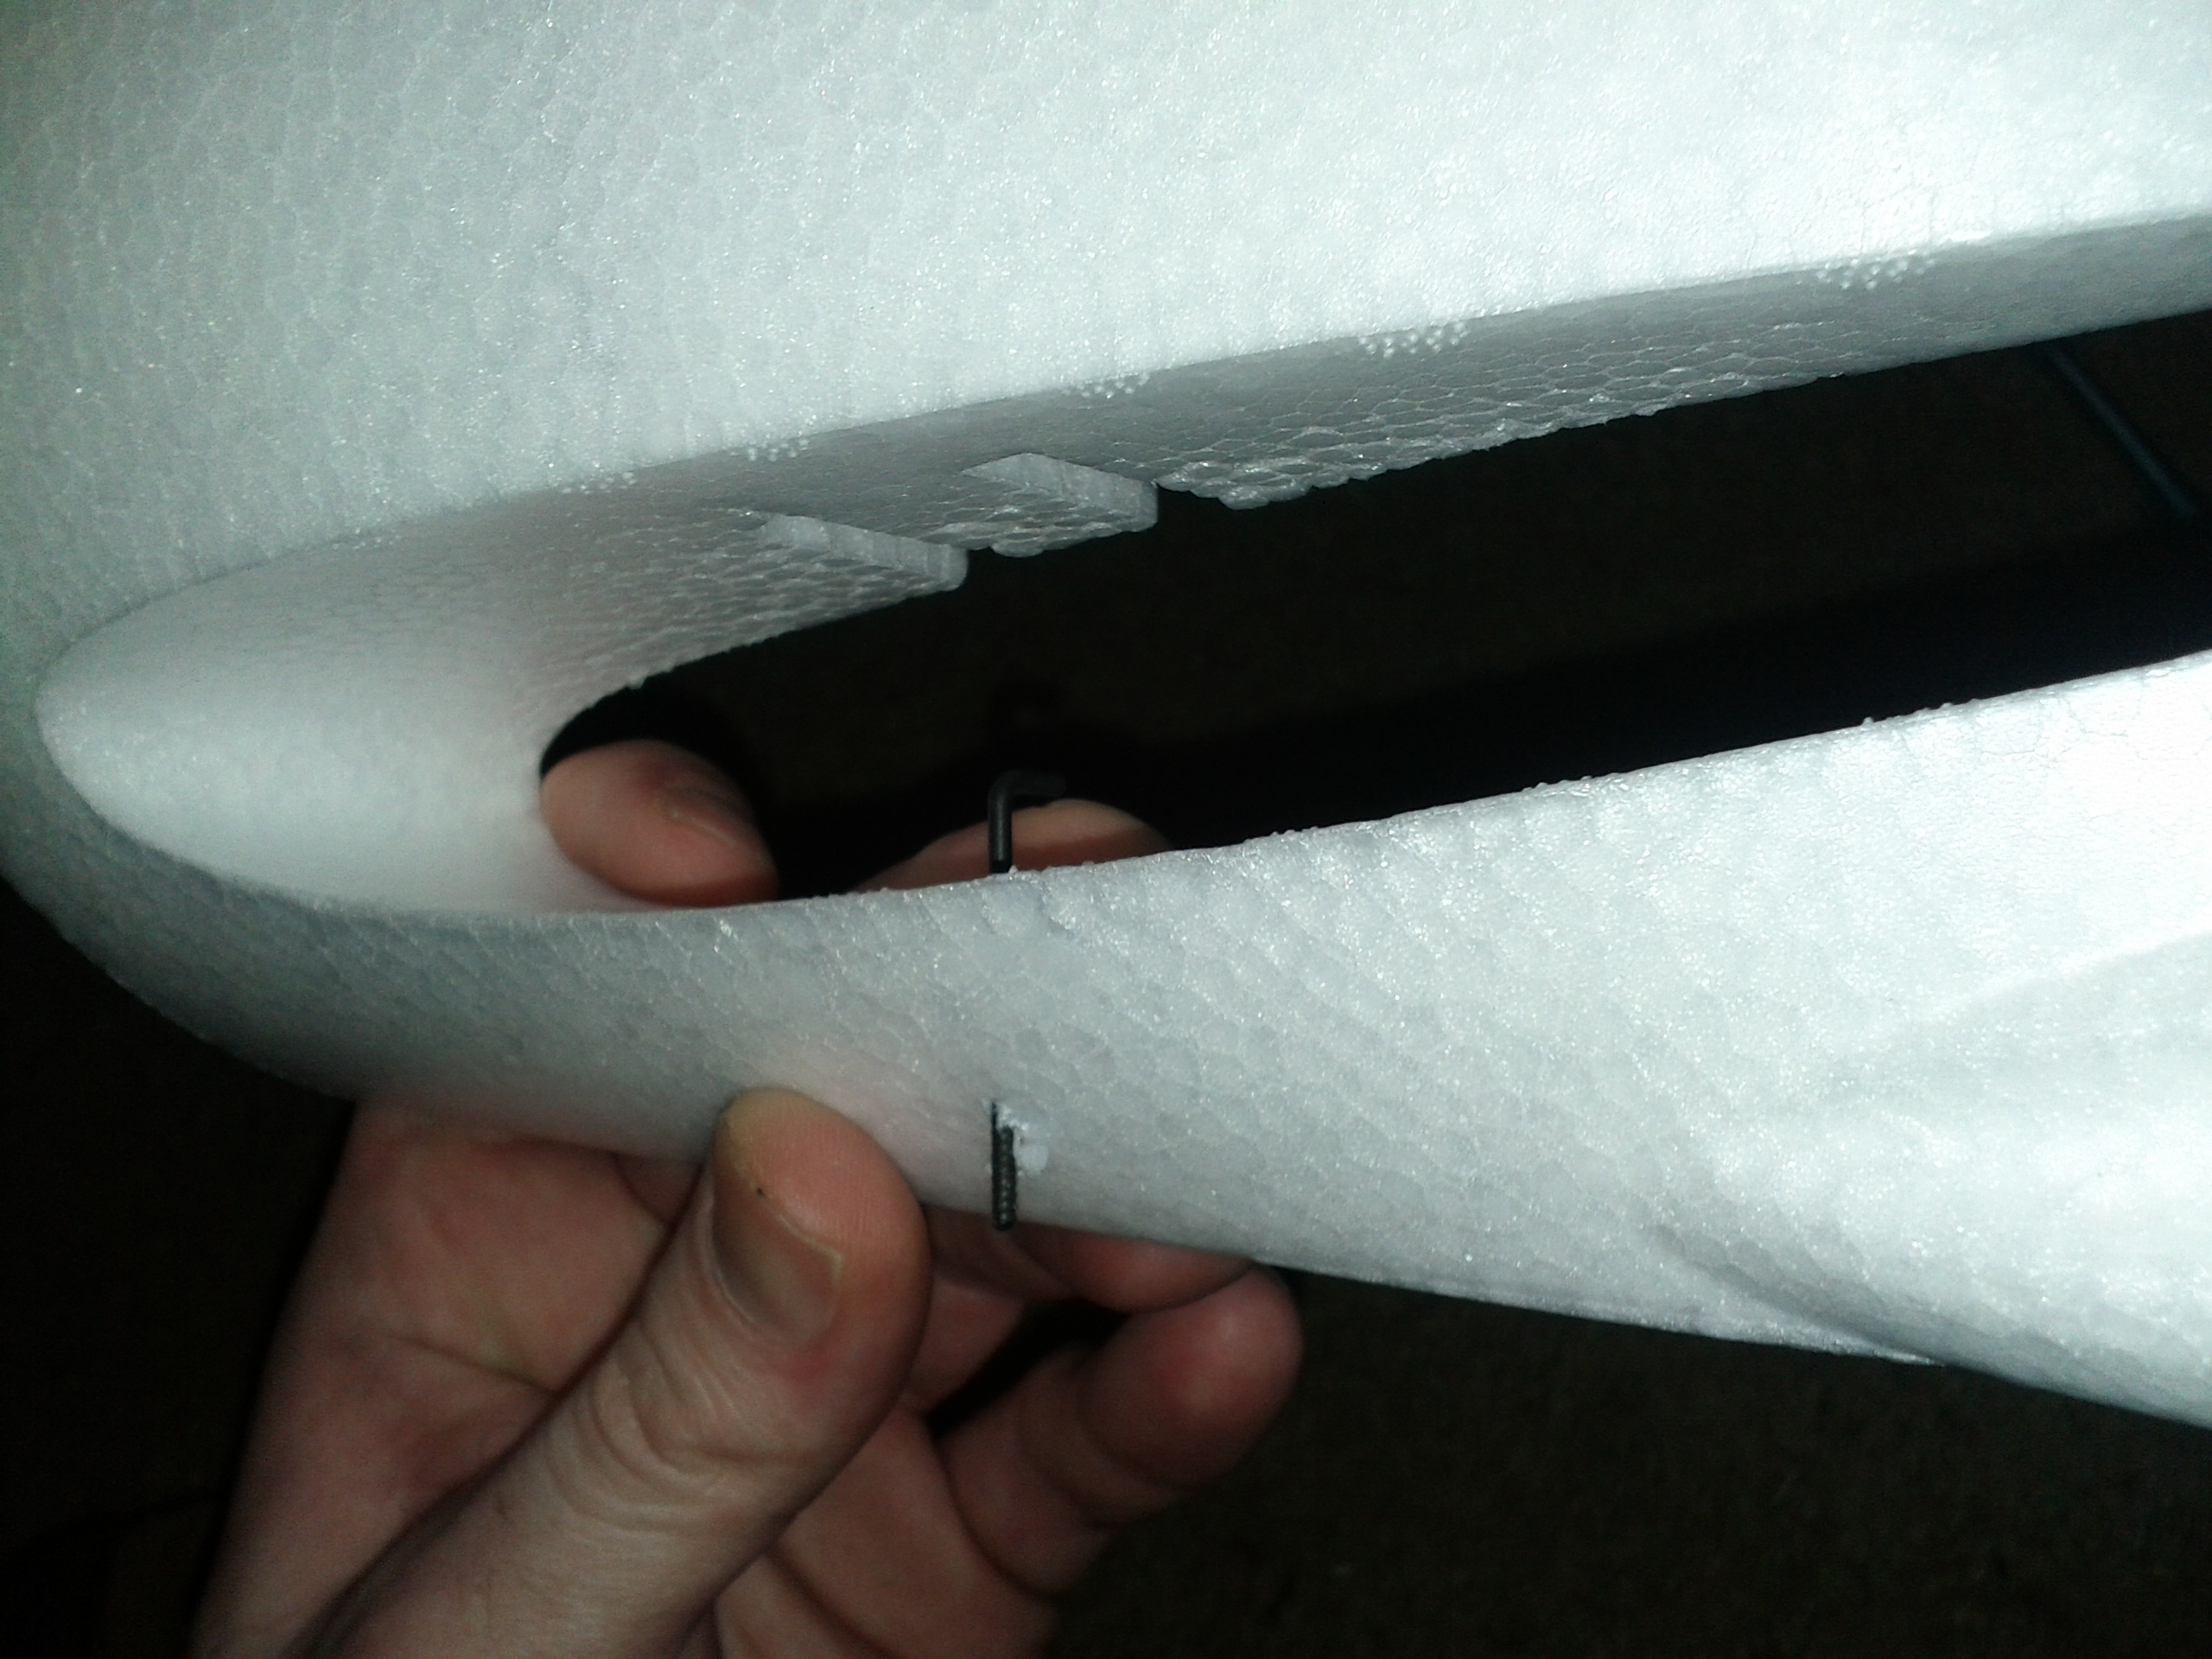
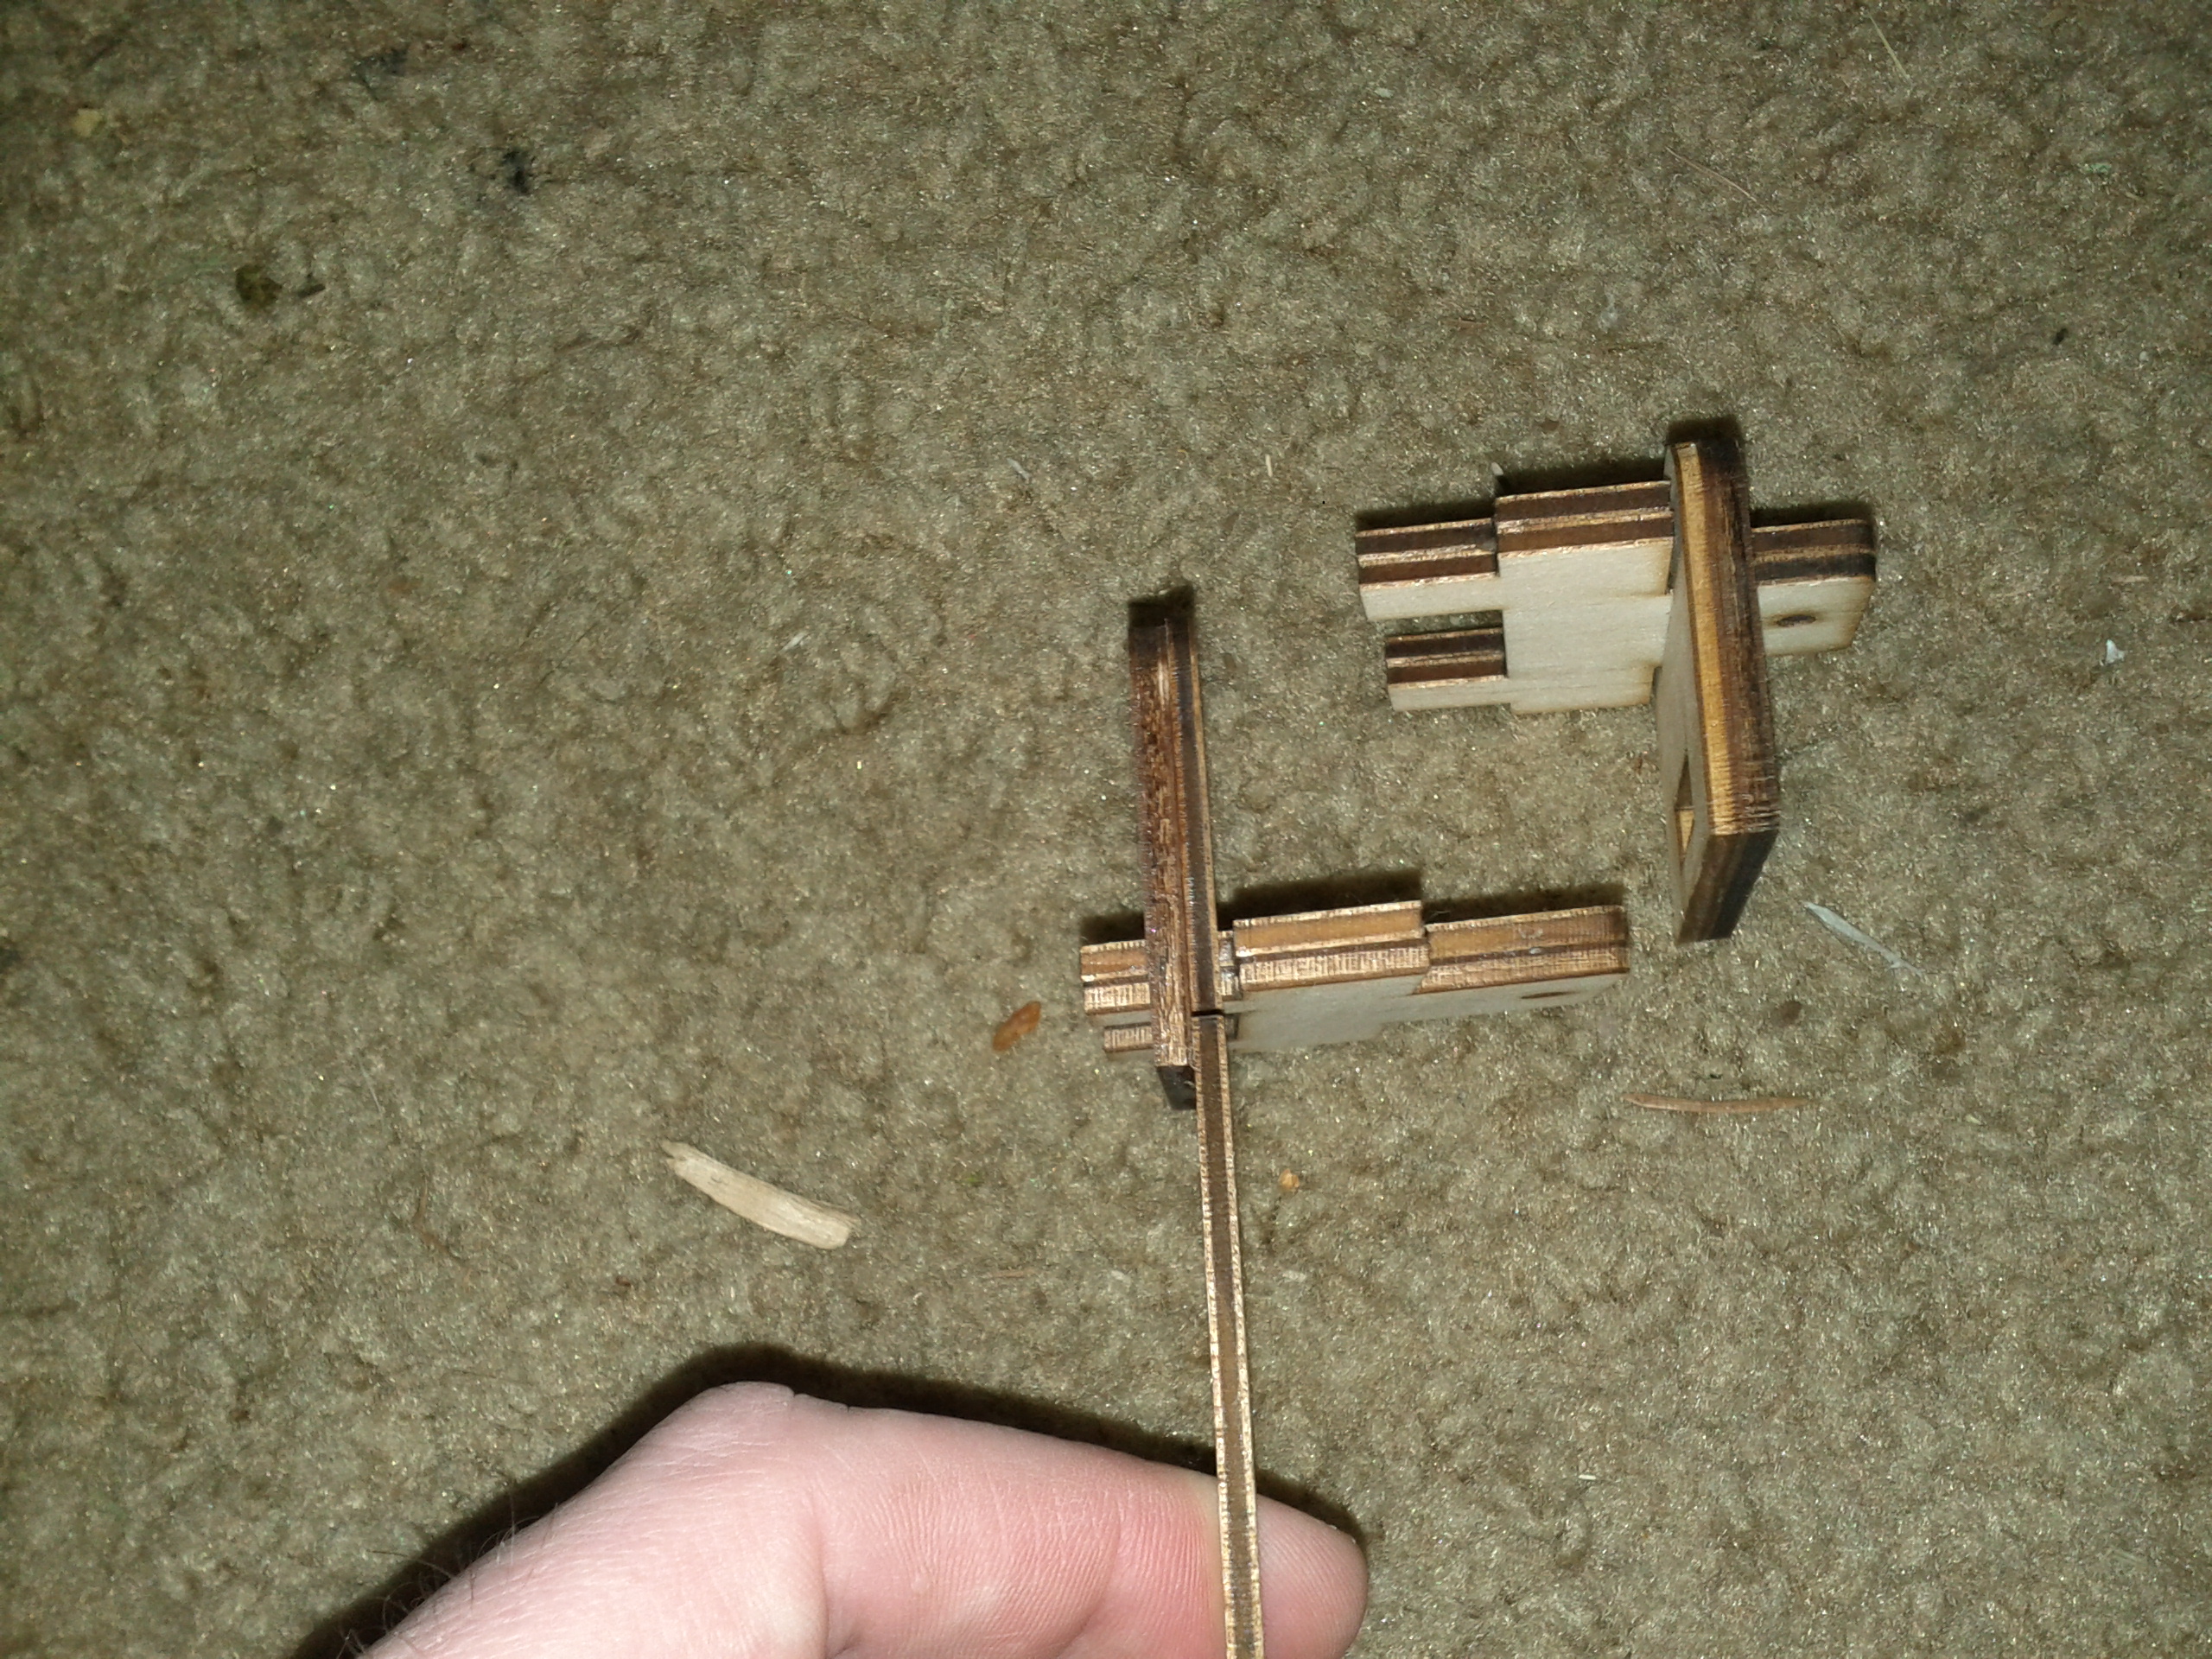
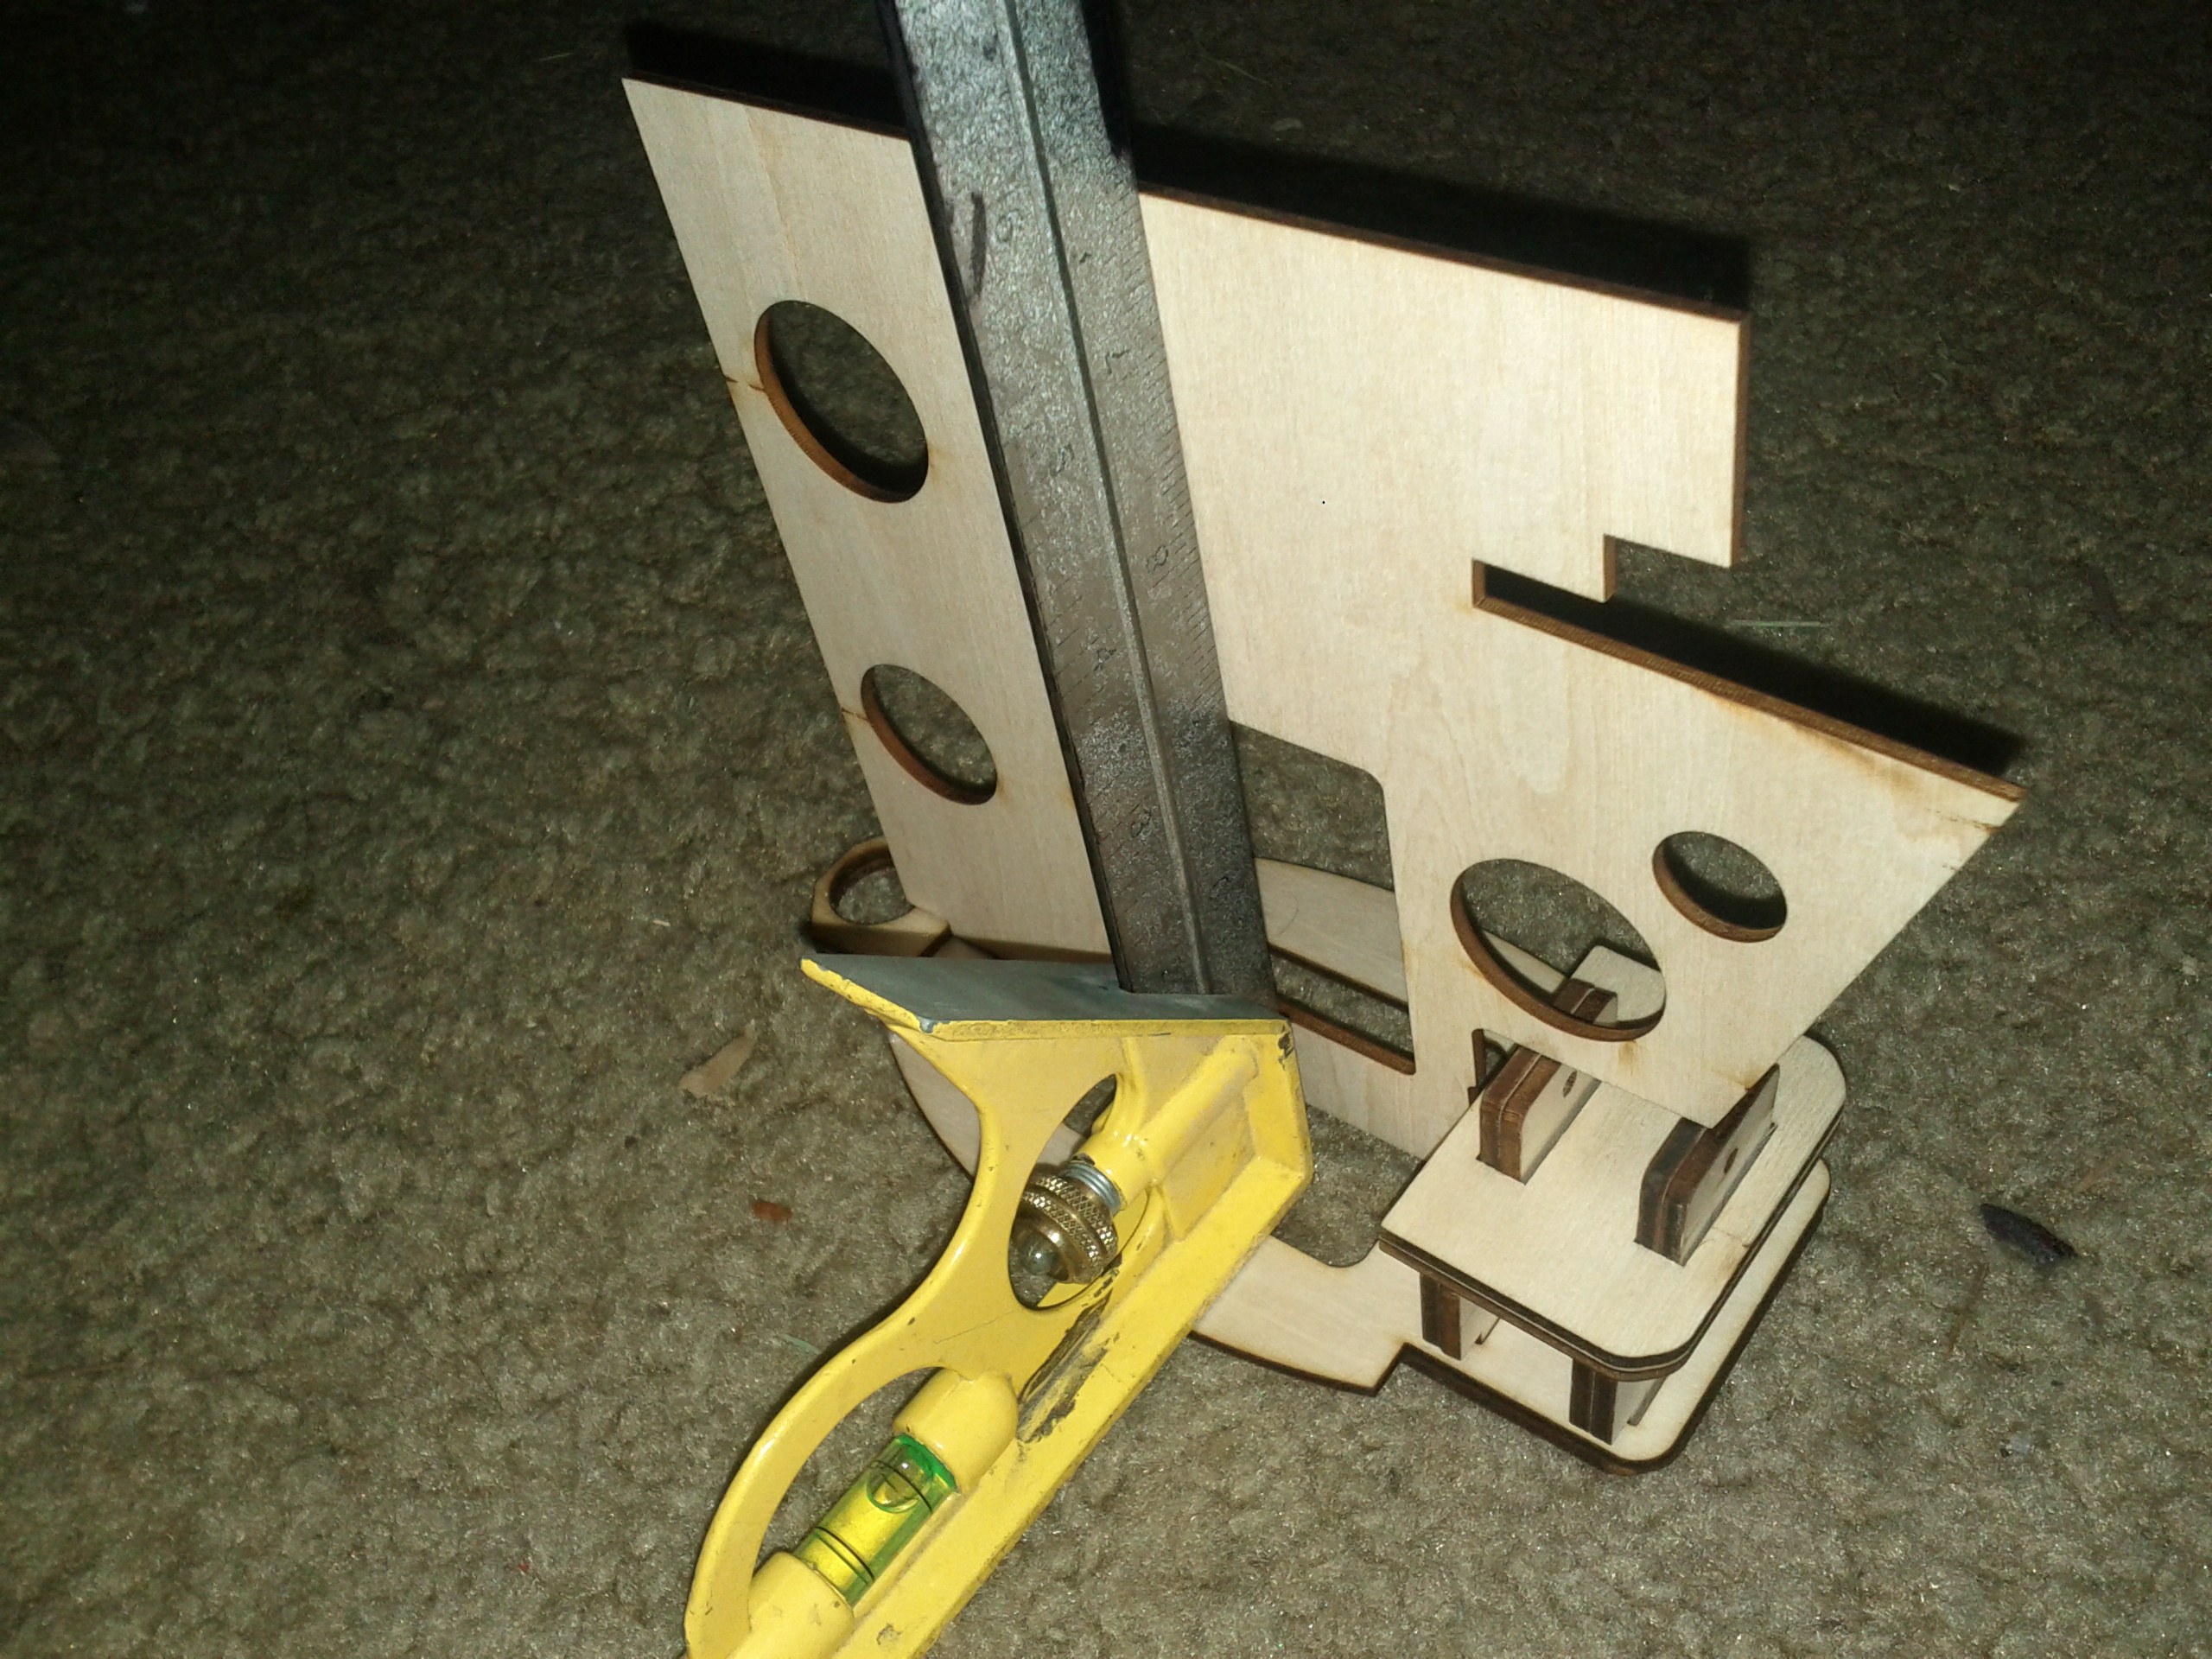
assemble spar boxand rear bulkhead
1. measure 1/2 inch inboard from the end of 6.top spar box piece and mark. then measure the center line and mark.drill a 1/8th inch whole in 6.top spar box piece
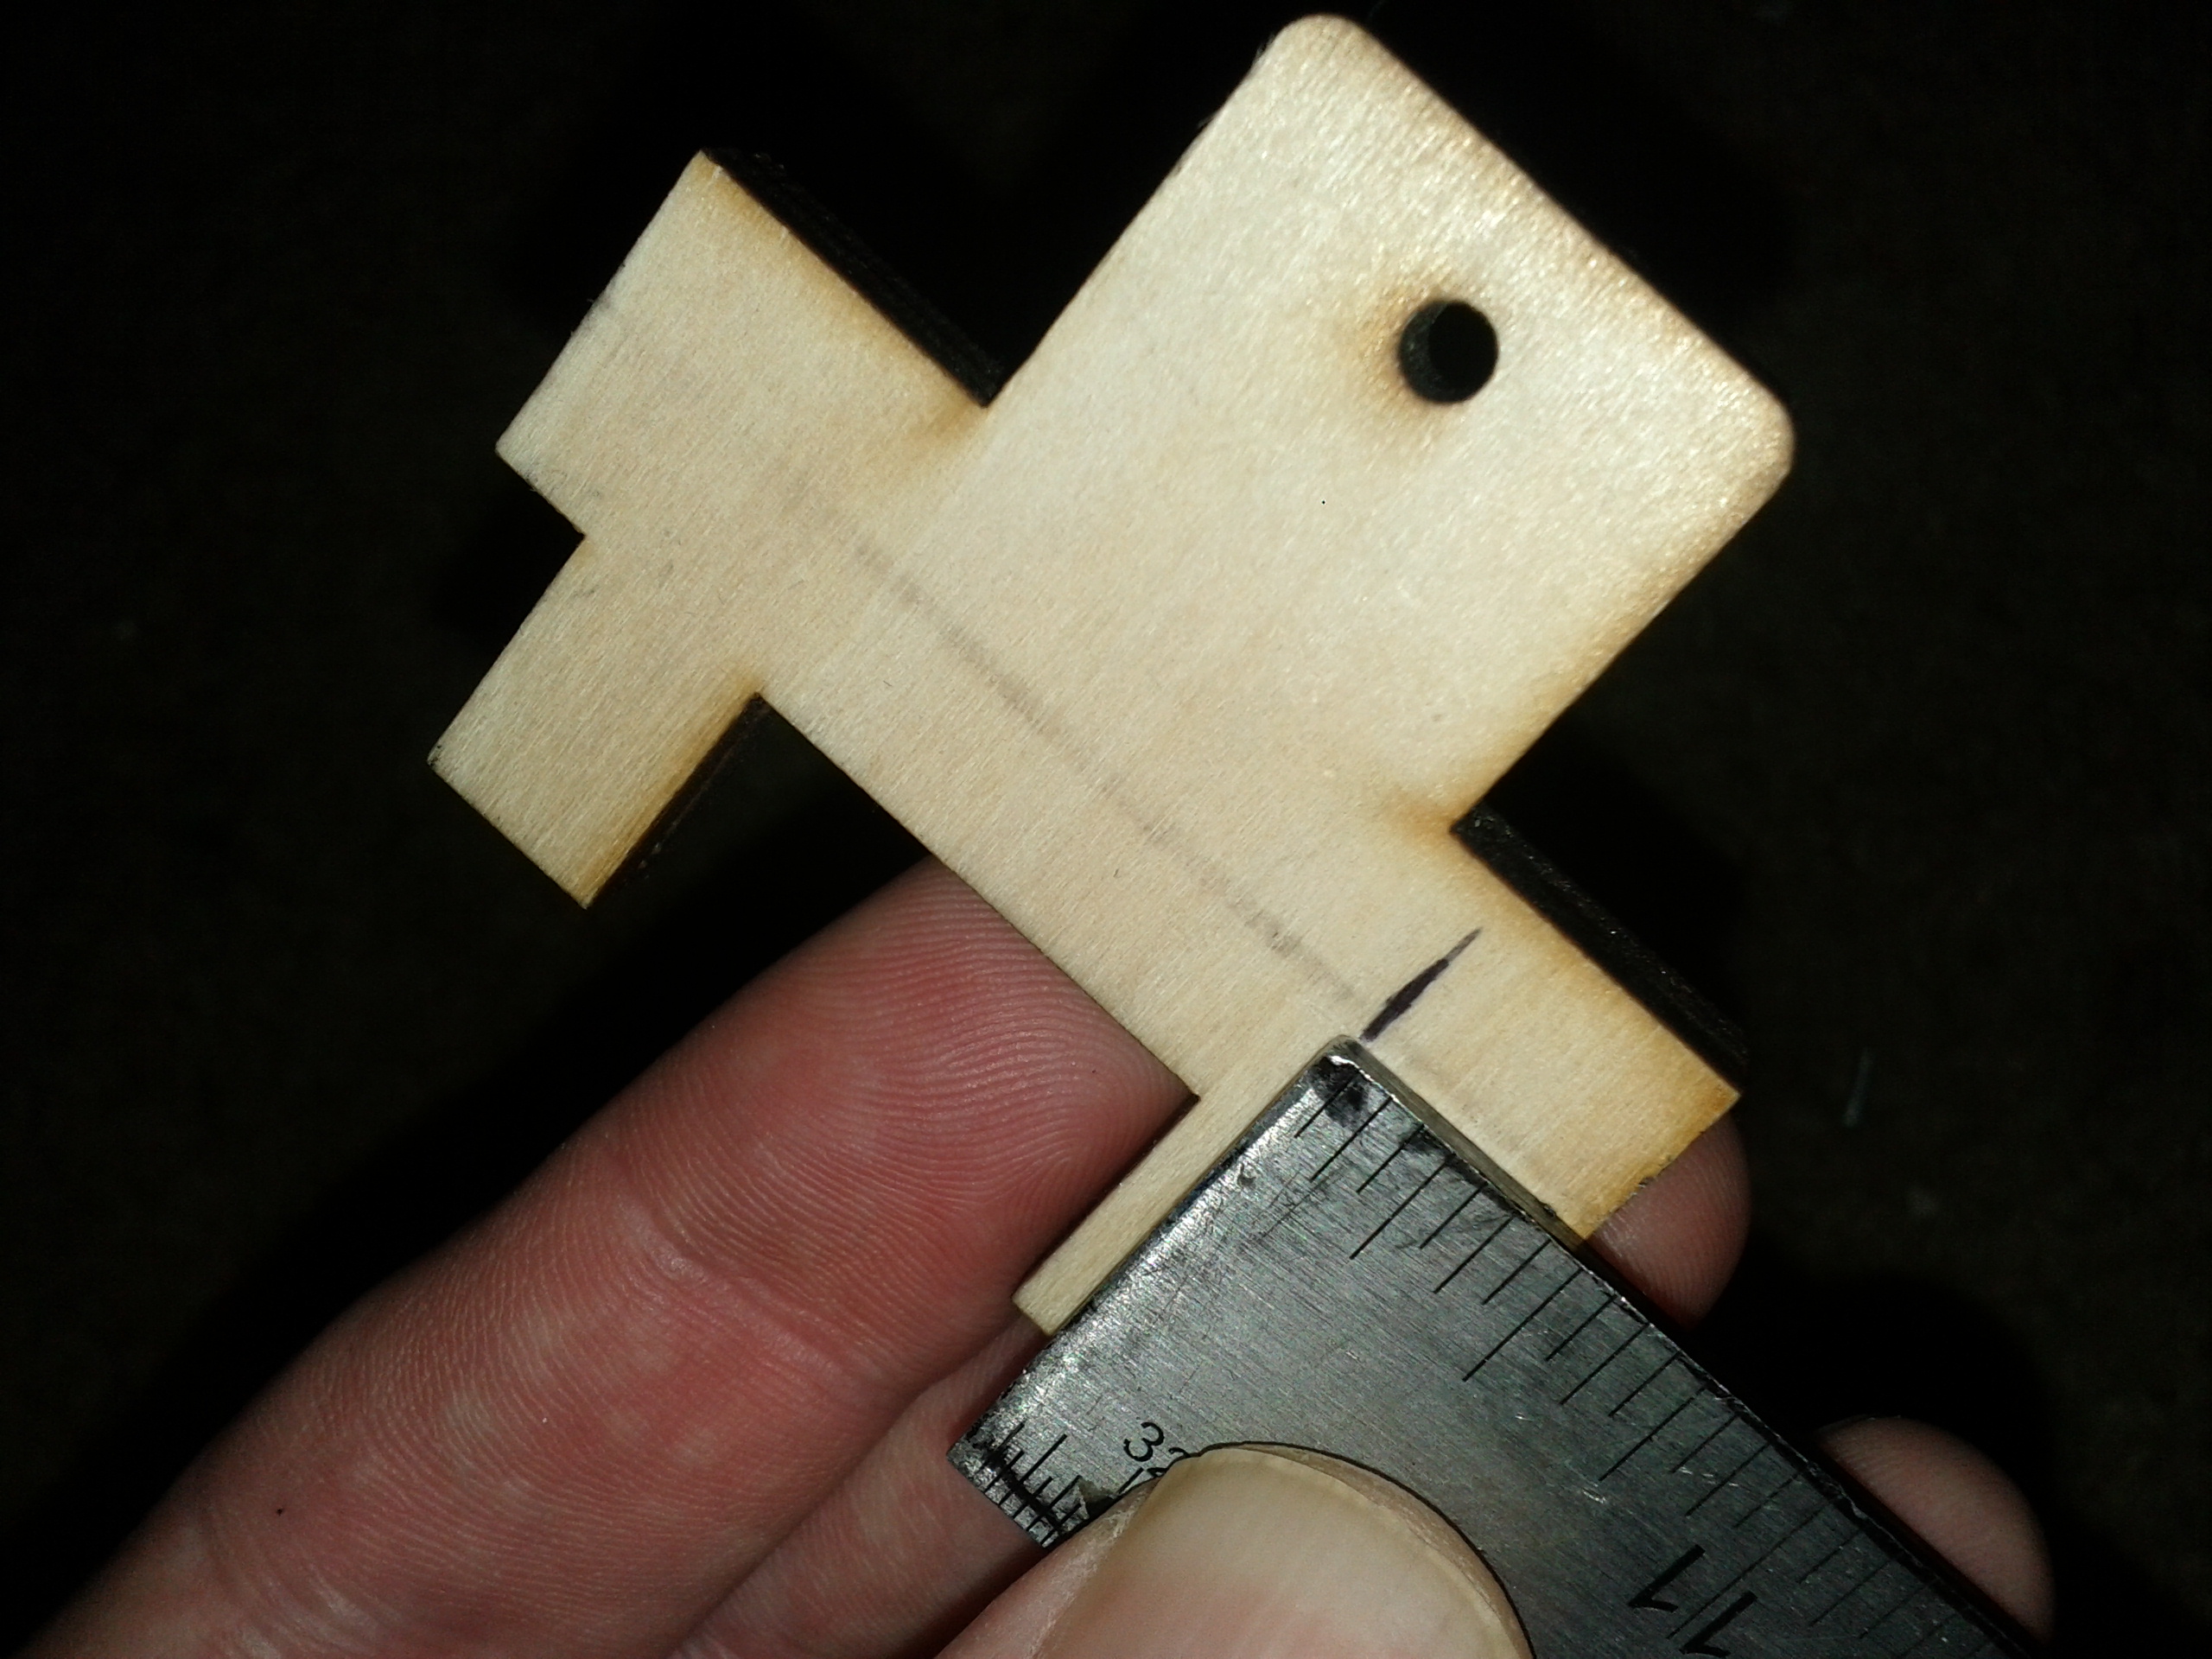
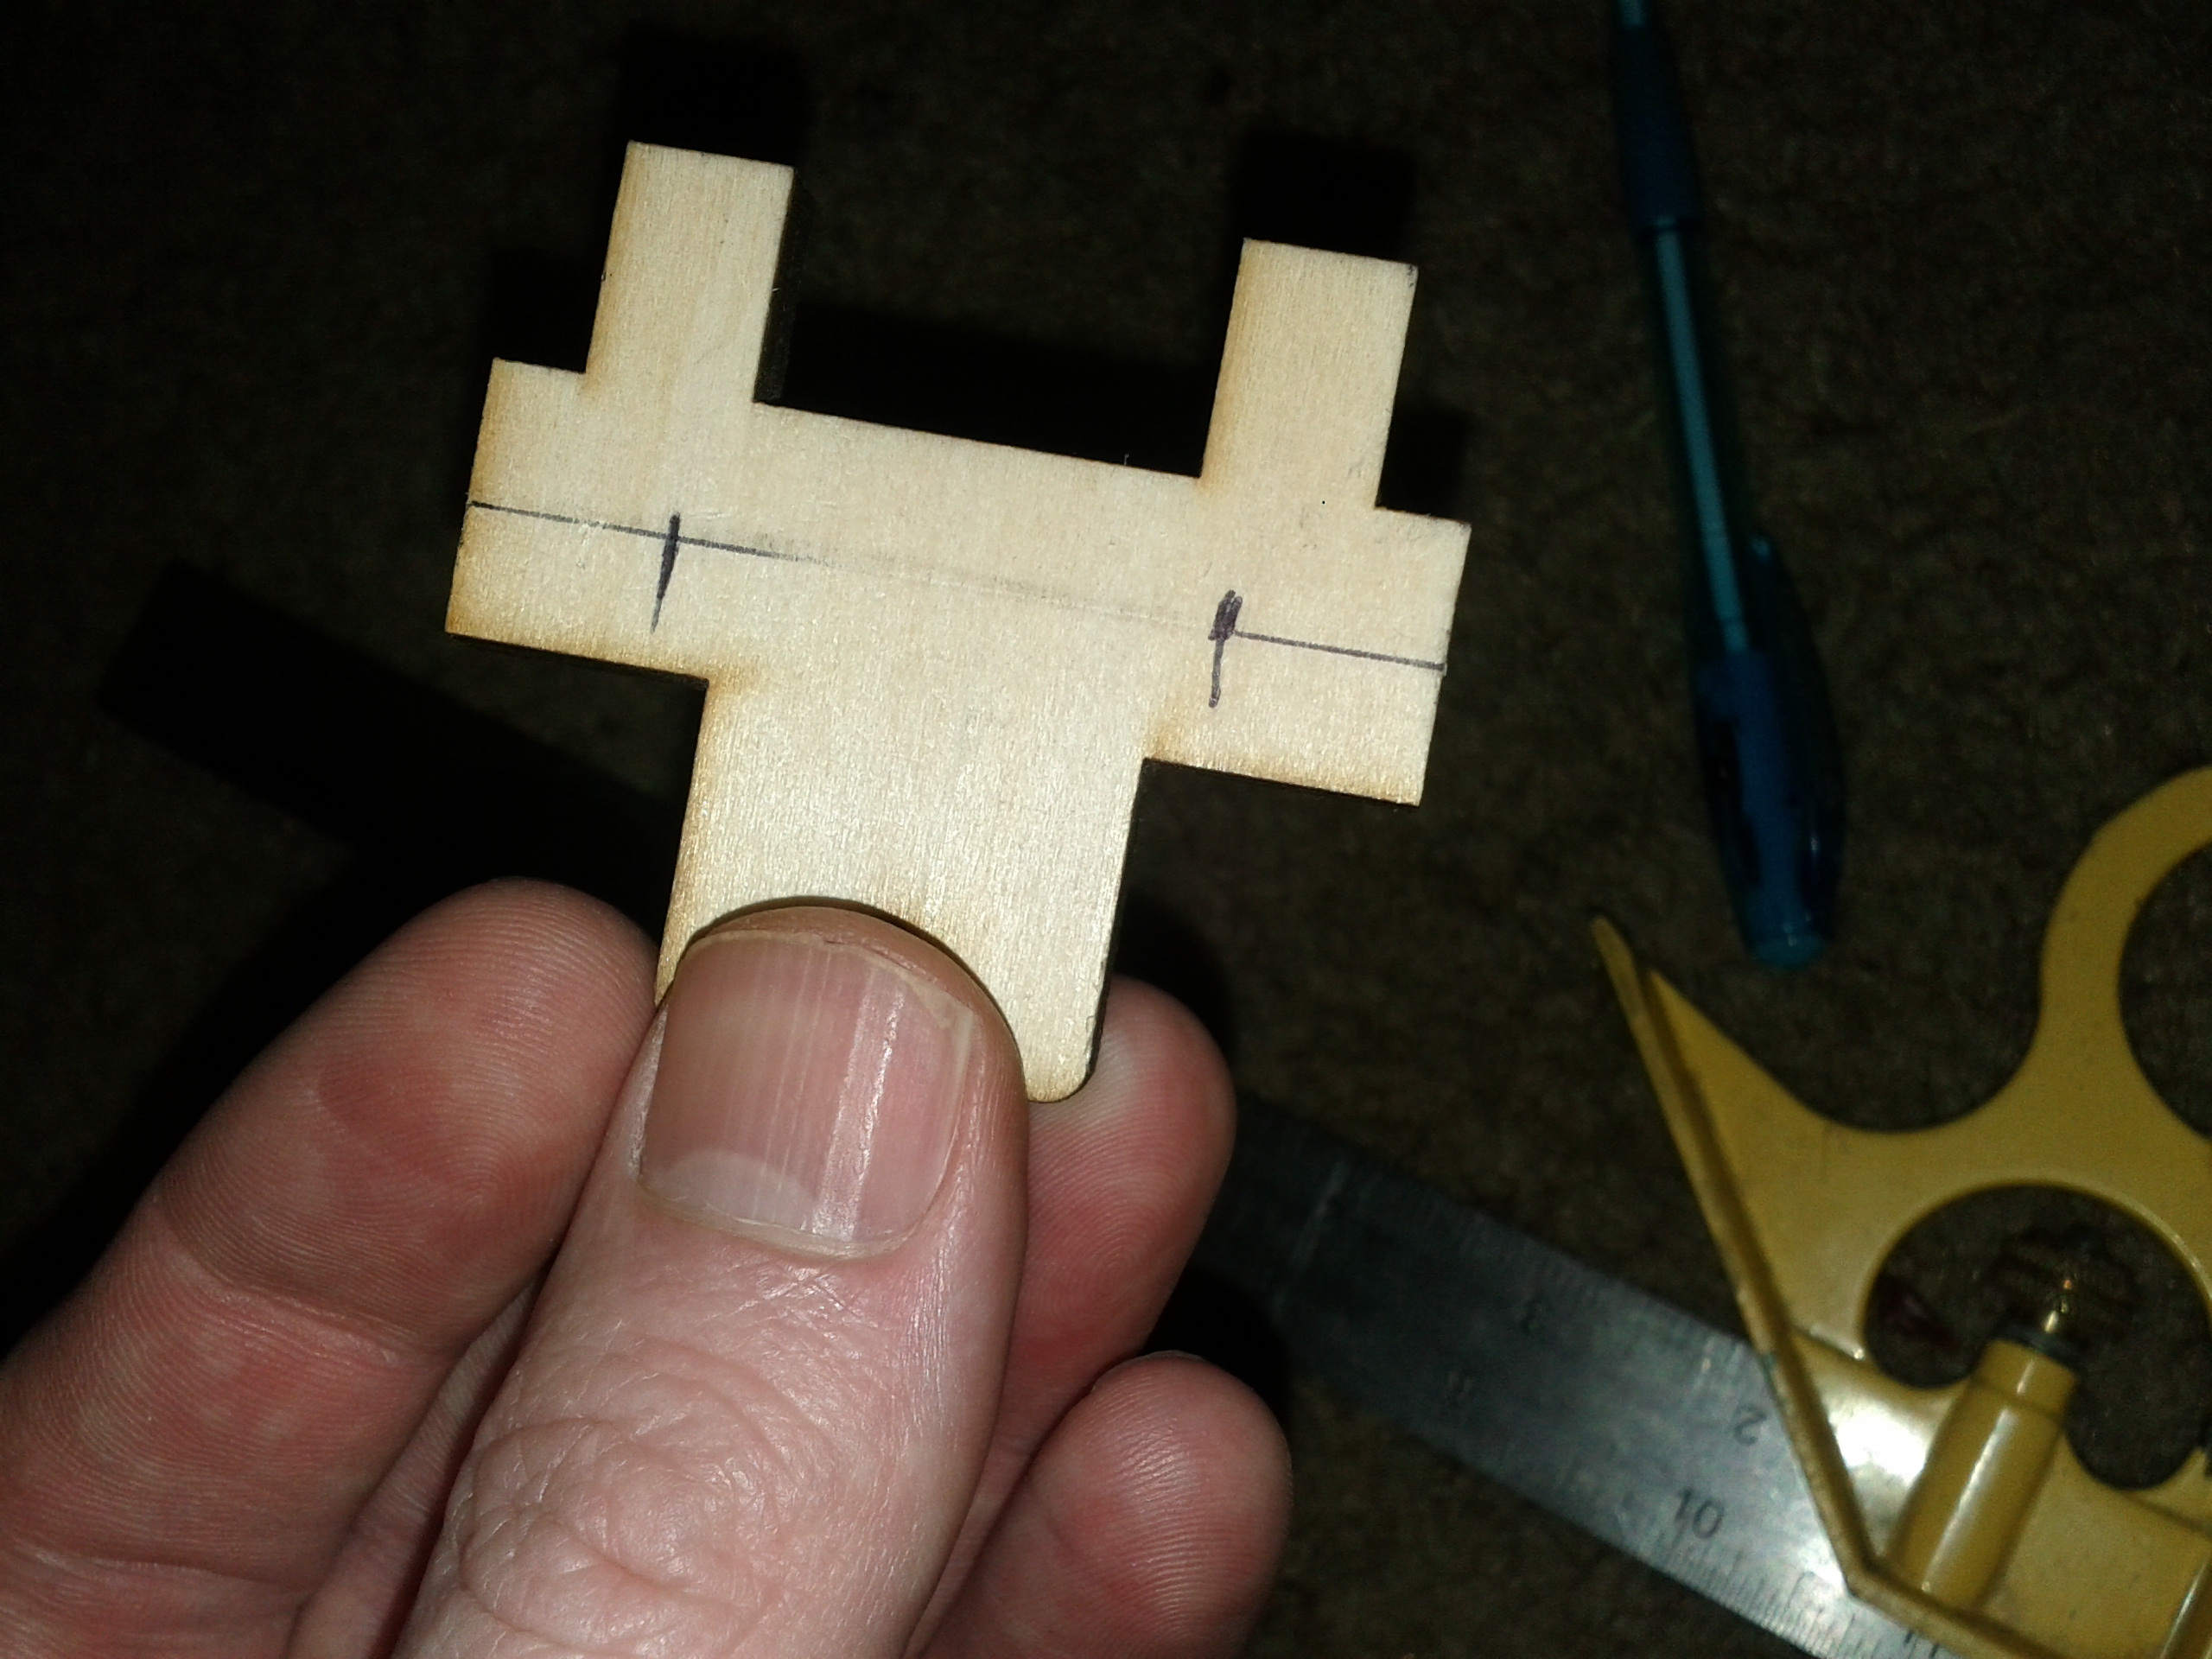
2. mark fuselage halves using a screw in the wholes you drilled


3. poke an access hole for the set screws on the mark you just made. I used one of the aileron push rods.
4. epoxy 6.top spar box piece to 5.rear spar box
5.epoxy 6.bottom spar box piece to 3.rear bulkhead
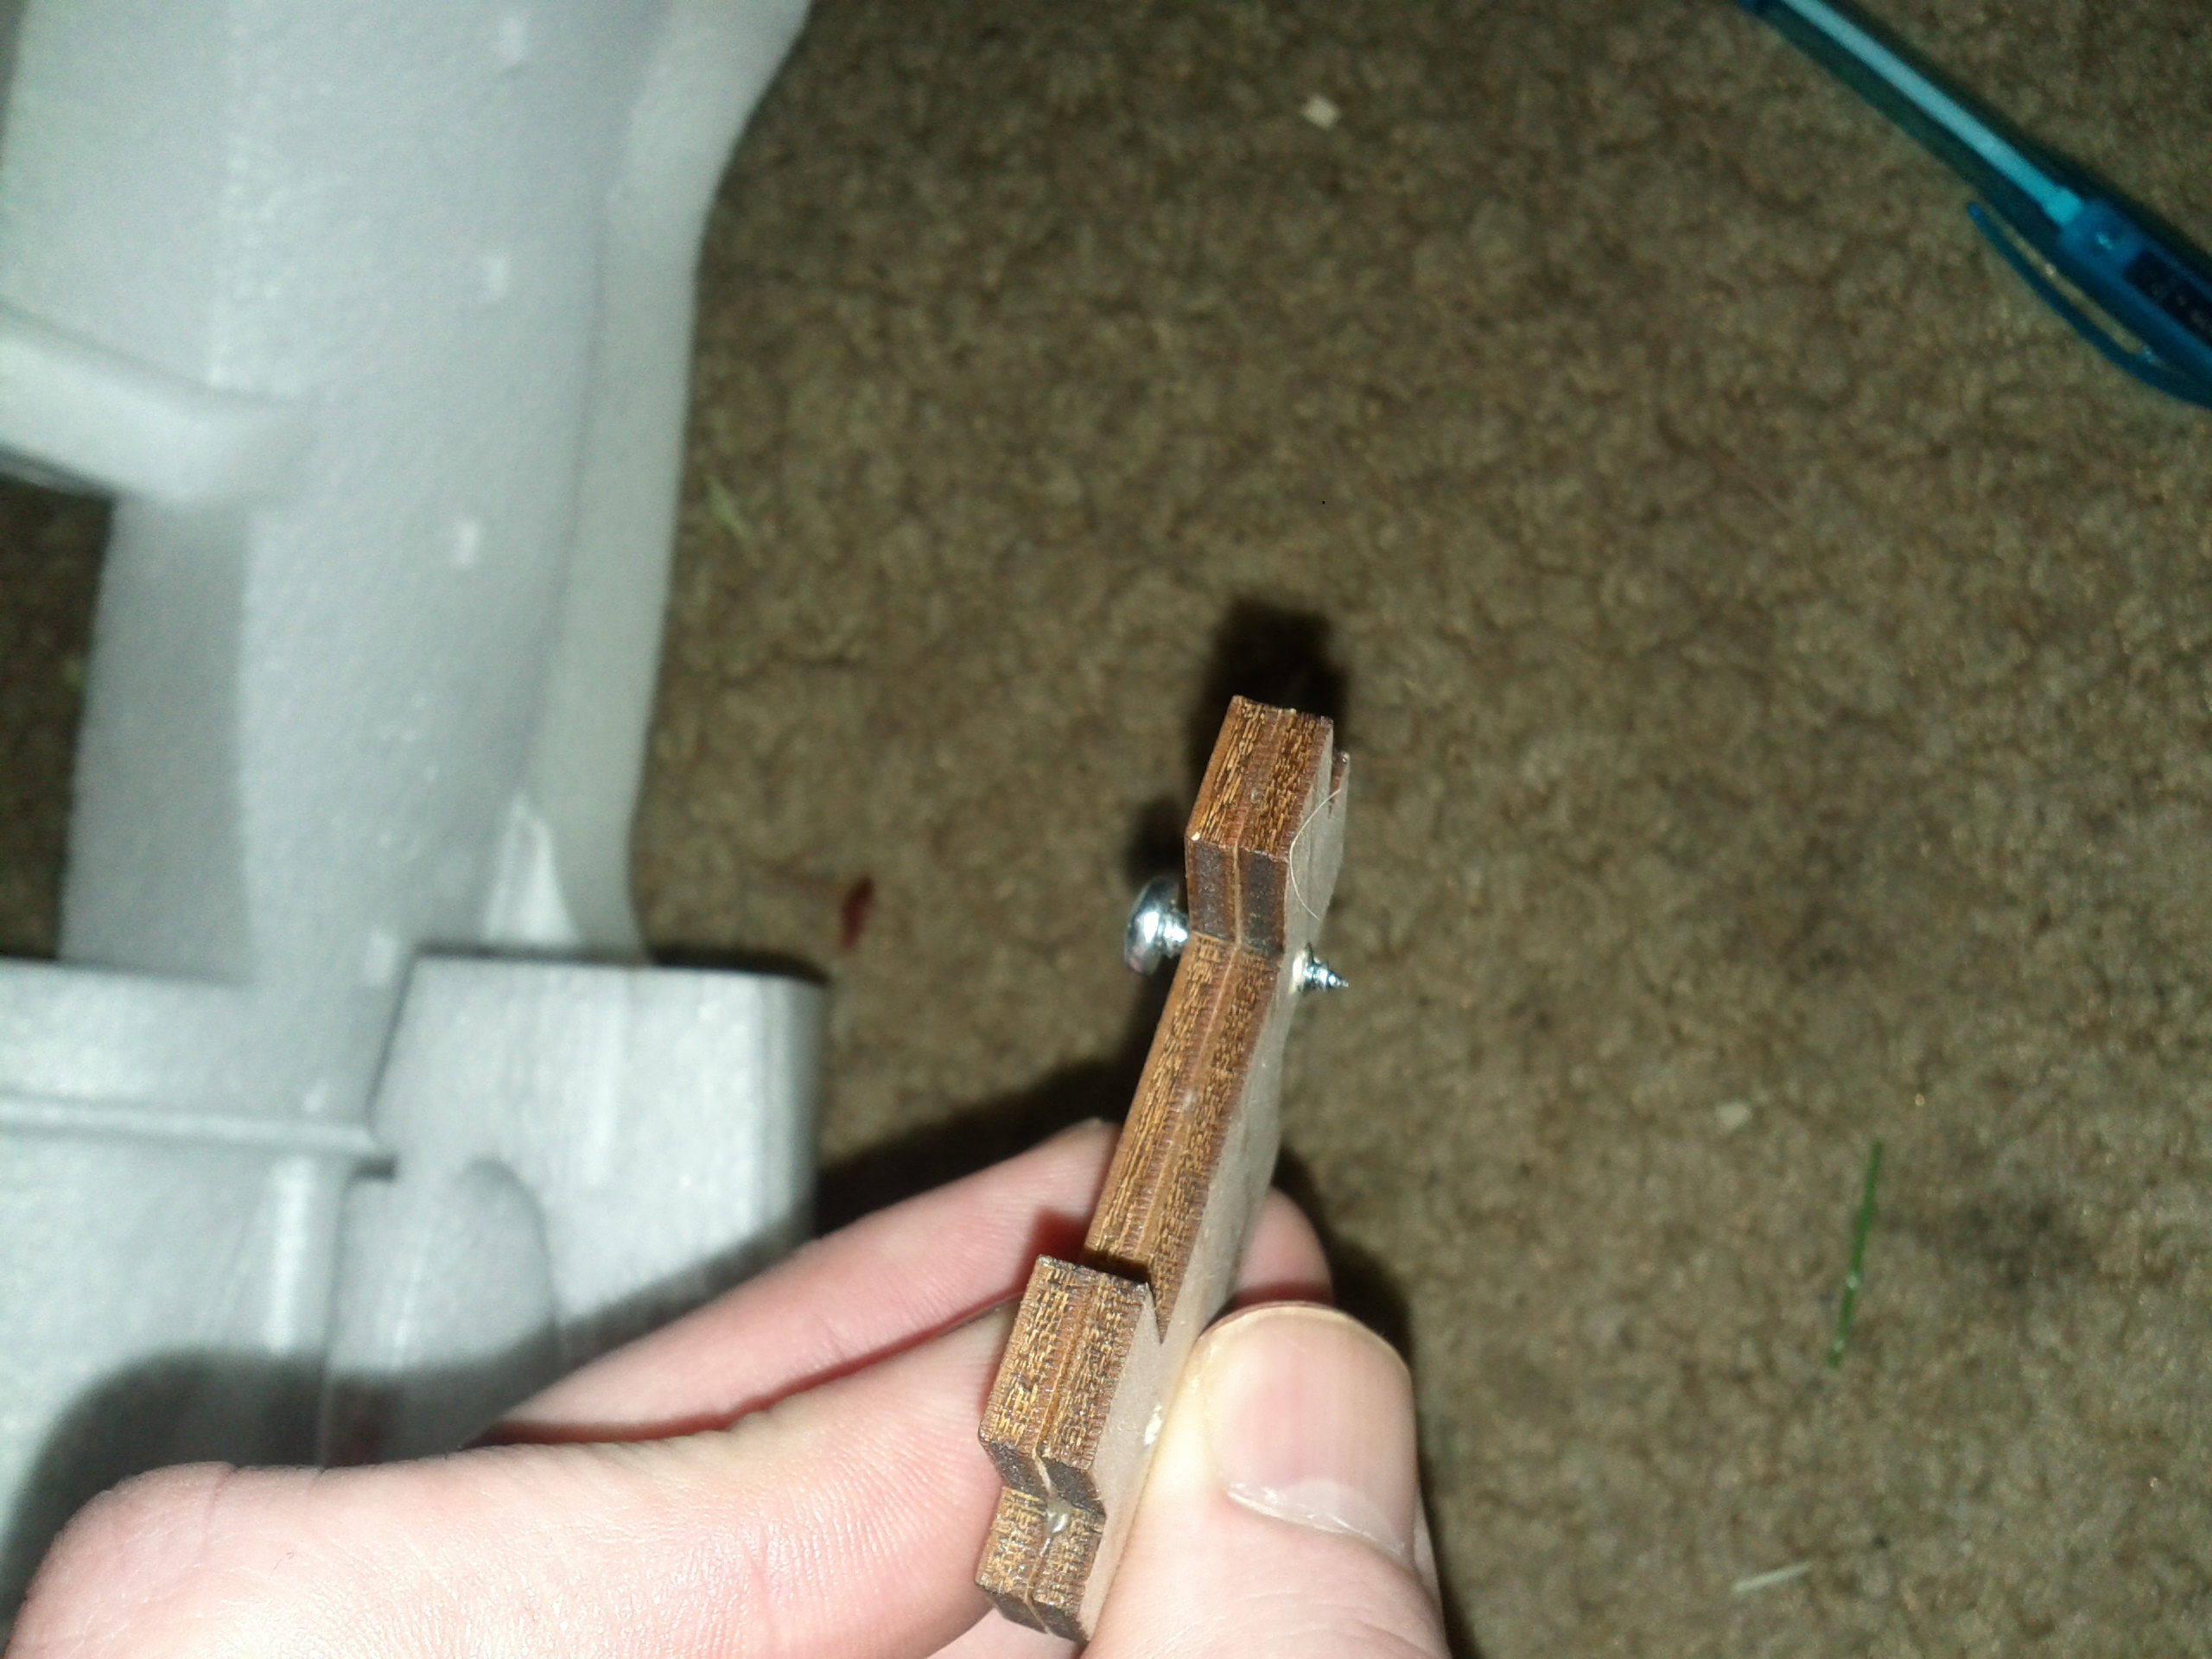
6. slide two parts and test fit the 39. Spar end tube

7. sand slot until the camping action works well if needed

8. assemble and install t-nut with CA

9. epoxy 1. Rear brace to 3. Rear bulkhead and make sure they are square
attach motor mount
Epoxy 2.Motor mount to 1.Rear brace. Make sure it is square. you may have to sand lightly to make it fit. The production units are a bit tight here.

add fiberglass
1. trim fiberglass to fit

2. fill motor mount screw holes with vaseline to prevent filling with epoxy. make sure not to get any on the front side of the motor mount as it will cause the epoxy to not bond.
3. lay down fiberglass and work in epoxy(15 minute)
4. allow to cure and add more epoxy if needed to make a fillet.

mount motor
attach motor with appropriate screws add spacers if needed for prop clearance.
route motor wire
cut tunnels into the insides of the fuse to allow the motor wires to pass

pro tip: install bullet connectors on the motor side so you can replace the motor if you need to.
Insert and align boom/tail assembly
1. insert tail and boom assembly
2. mix and apply an ample amount of JB weld to glue the carbon fiber to the wood
3. Align the F.Vertical stabilizer with the 1. Rear brace
4. brace and allow glue to cure
custom fit your gear at this point
now it the time to fit that mammoth lipo or the vertical camera, custom table or whatever you desire

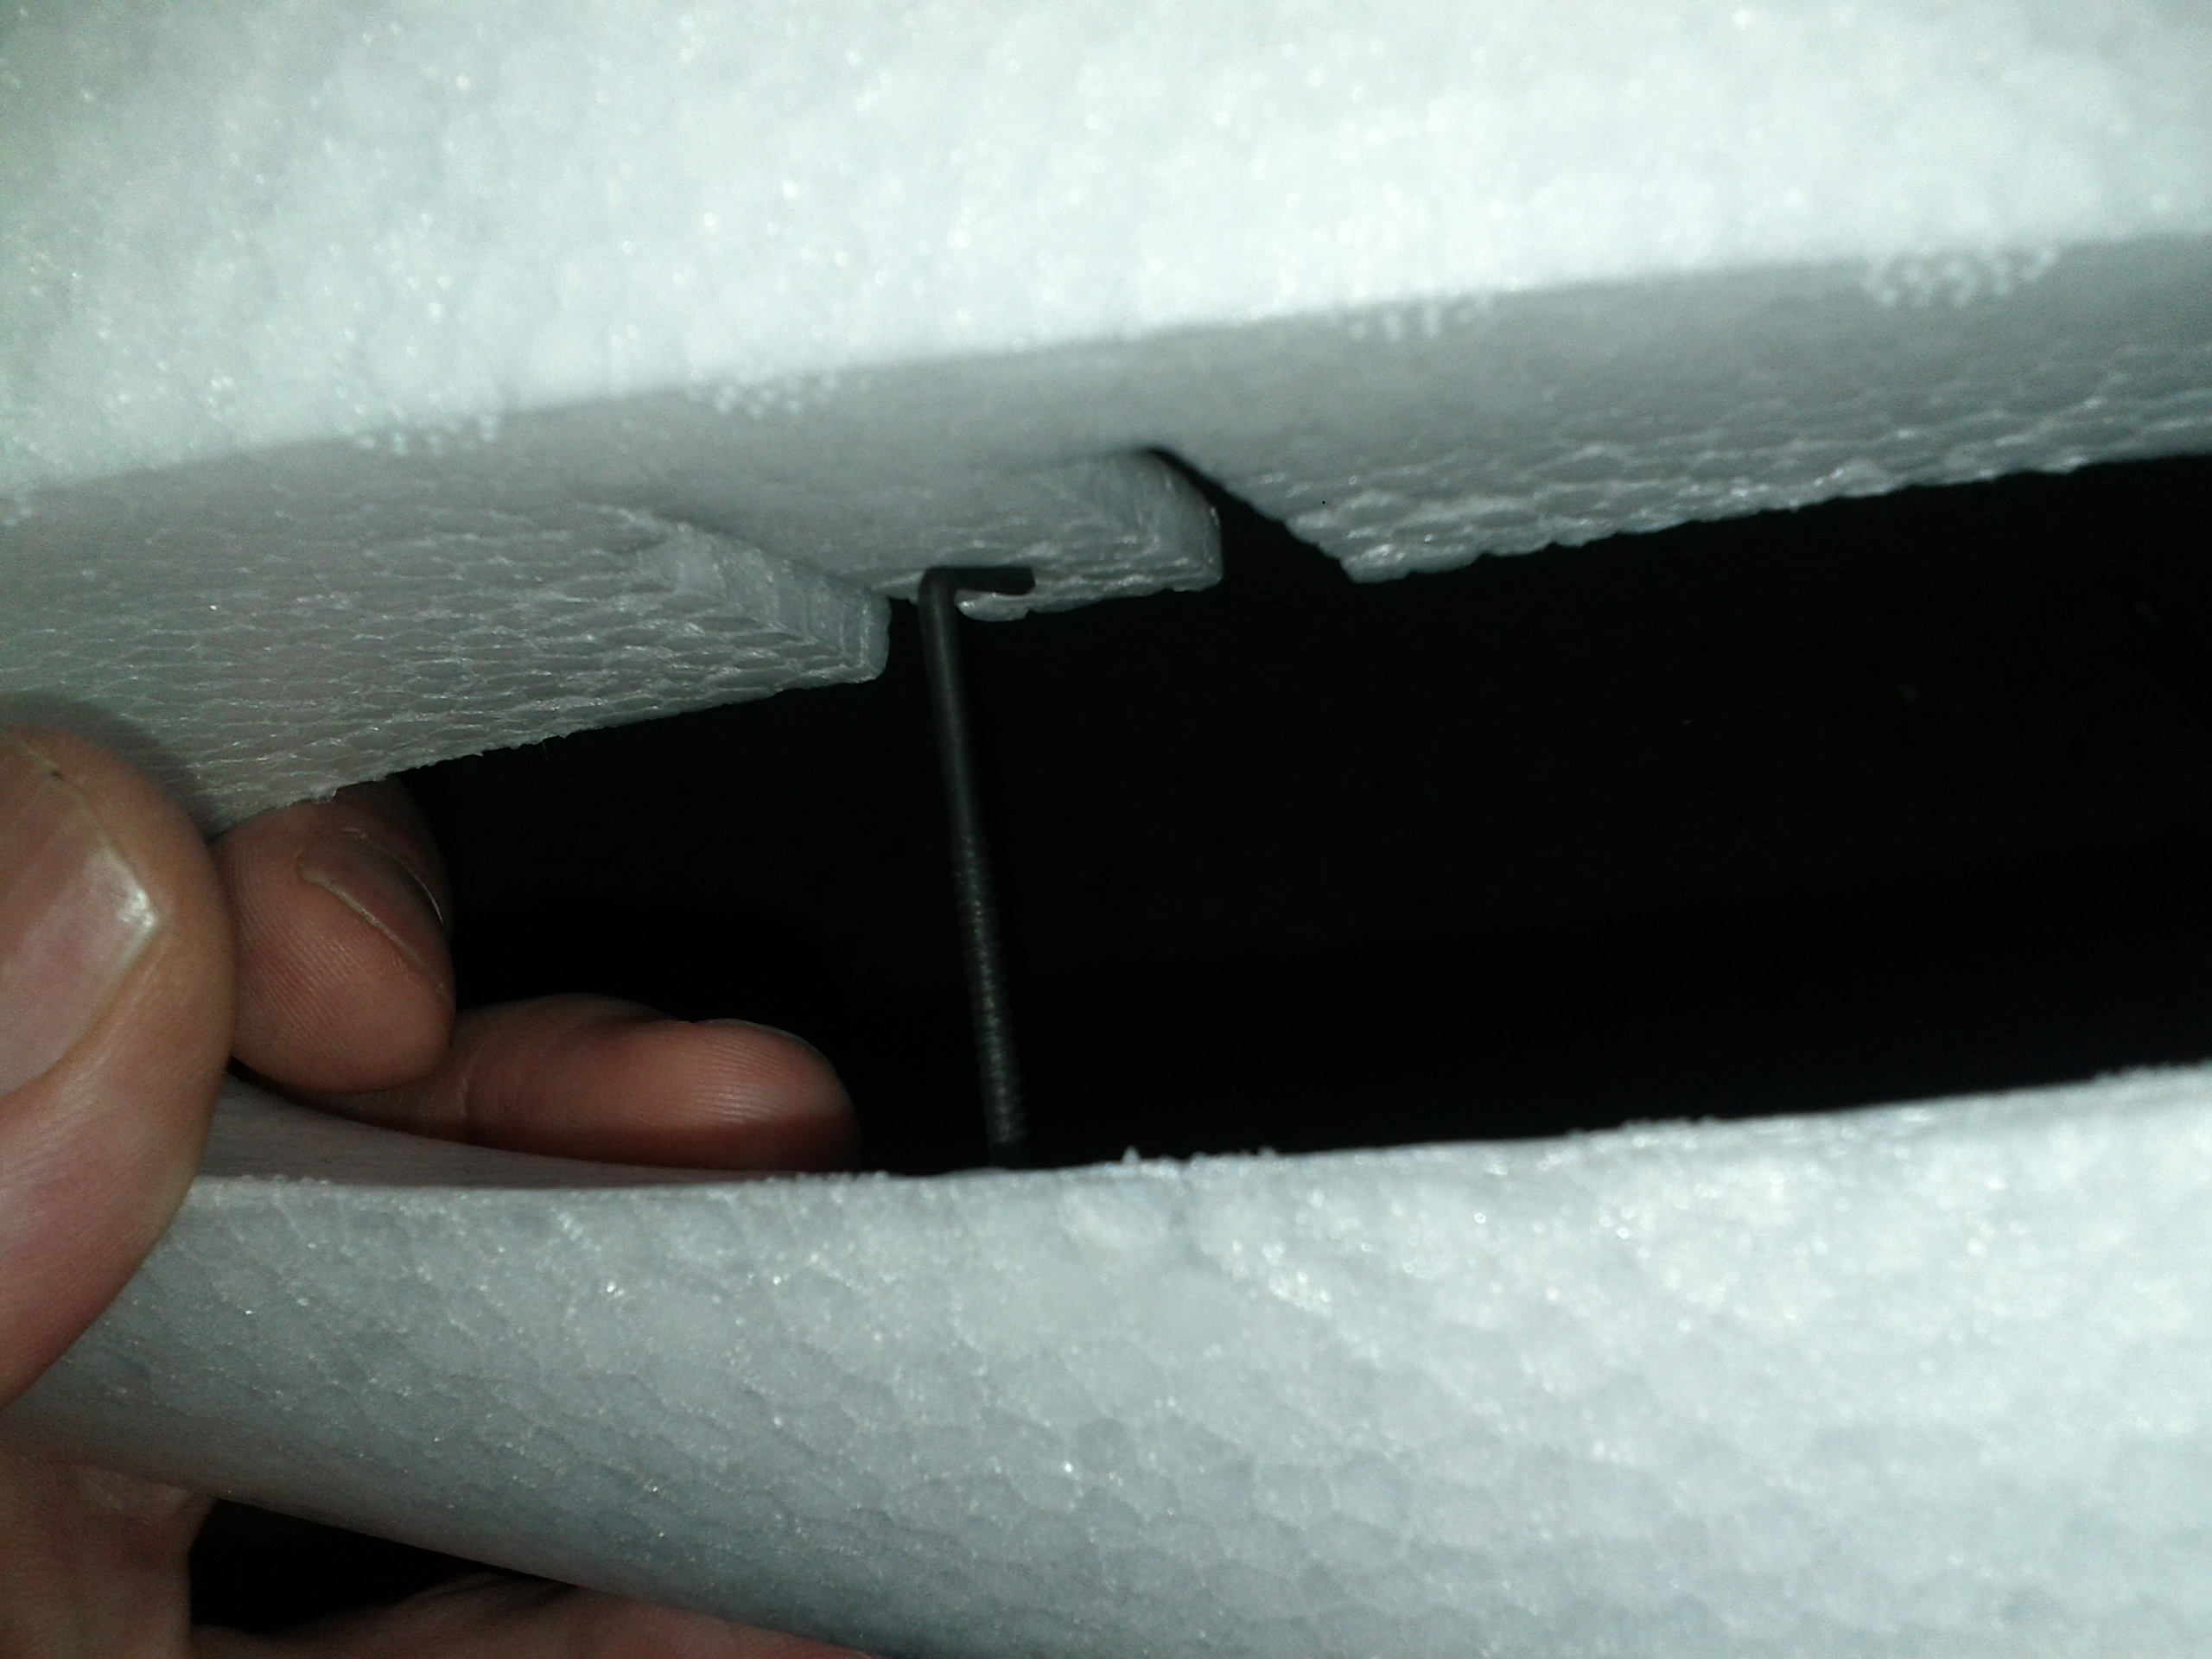
How does the clamping exacly work? Do the two wood screws stay in the 6.top spar box piece and just clamp the black nylon tube with the long screw? Or do I have to screw them in tight every time I want to put the wings in place?
The clamp screw, needs to be tightened every flight. The top screws are “set” screws to keep the wings from sliding apart. You don’t want to tighten the top screws very much you don’t want to disturb the carbon fiber tubes. The nylon parts are of course glued to the end of the spars.